How To Train a Diffusion Model for Custom Image Generation from Scratch
Thinking about training your own diffusion model from the ground up might feel a little like deciding to bake a multi-tiered cake from a recipe you’ve only glanced at. It’s exciting, it’s intimidating, and it might take some trial and error. But if you’re a software developer who’s already rolled up your sleeves for complex challenges, this will be right up your alley.
Below, I’ll walk you through the process step by step—sprinkling in some anecdotes and pointers that I wish I’d known before I started experimenting with diffusion models.
A Quick Refresher on Diffusion Models
Unlike certain AI tools that rely on big leaps of generative magic, diffusion models work by methodically “denoising” an image until something recognizable emerges. It’s a bit like playing a game of reverse hide-and-seek: the image data is buried under noise, but the model systematically peels that noise away.
If you’ve tried other generative approaches, you’ll notice that diffusion models can produce remarkably fine-grained results. They’re also typically slower to train than old-school models, so mentally prepare for a marathon, not a sprint.
First Things First: Your Dataset
If you’ve done any machine learning, you already know how vital a curated dataset is. You need images that reflect the types of visuals you ultimately hope to generate. Ideally, these images should be:
- High-quality (nobody wants super-blurry training data),
- Appropriate to your domain (e.g., if you’re generating portraits, gather a broad range of faces, angles, poses),
- Labeled or categorized, if possible (even though diffusion models aren’t purely label-dependent, some workflows benefit from sorting or filtering images).
Smaller or more targeted datasets can still work—it’s all about how patient and meticulous you are with your training. There’s a bit of an art to deciding on your dataset size and scope. If your goal is very niche (say you only want to create images of vintage cars), you might get away with fewer samples, plus some careful data augmentation.
Setting Up Your Environment (a.k.a. Surviving GPU Crunch)
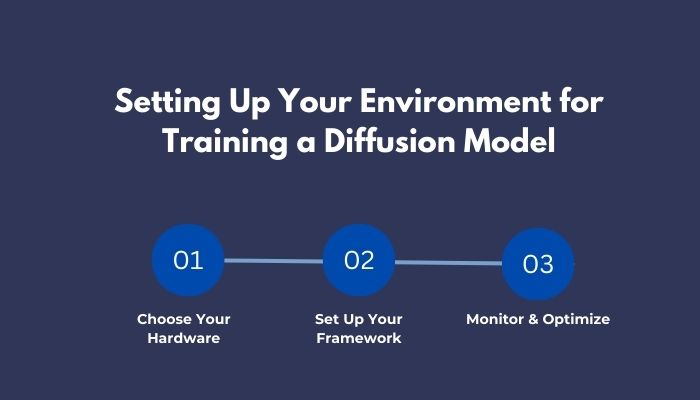
I’m not going to sugarcoat it: training a diffusion model from scratch usually requires heavyweight hardware. If you don’t have a GPU that can handle labyrinthine neural networks, consider tapping into cloud platforms like AWS, Google Cloud, or any GPU rental service.
- Familiar Libraries: PyTorch and TensorFlow each have communities that share reference implementations and tutorials for diffusion-based architectures. If you’re already comfortable in one, you might save yourself some headaches by sticking with it.
- Extra Tools: Tools like Weights & Biases are great for monitoring your training progress. They accompany you like a personal training buddy, tracking your experiments so you don’t lose your mind trying to recall which specific hyperparameter setting worked wonders at 3 AM.
Building (or Borrowing) Your Model Architecture
Chances are you’ll use something reminiscent of a U-Net, which is fairly standard in modern diffusion frameworks. This architecture allows the model to pass information across multiple layers while carefully refining the image each step of the way.
If you’re relatively new to building deep learning models from scratch, pick an existing open-source diffusion model as your baseline. Then, gradually retune the hyperparameters—like learning rate, batch size, or the number of diffusion steps—to fit your project. It’s a bit like starting with a sturdy skeleton and adding your personal flair.
The Training Grind
Let’s be honest: this part can be both exciting and mind-numbingly repetitive. You’ll launch your training script, watch your GPU usage spike, and wait. Then you’ll wait some more.
- Watch the Loss Metric: If it plateaus or skyrockets, you might need to tweak your learning rate or double-check that your dataset isn’t riddled with too much noise (the wrong kind of noise, ironically).
- Peek at Sample Outputs: One of the biggest perks with diffusion models is you can see how the generated images evolve over time. Early on, images typically look like fuzzy blobs. Don’t worry—that’s normal. The question is whether those blobs are gradually morphing into something meaningful by, say, halfway through your training run.
Fine-Tuning & Tweaking
After the main training phase, you can refine your model for more specific tasks. Maybe the base model learned to generate “nature” themes, and you want to pivot to something more specialized, like goose photos on scenic lakes. If so, gather a focused set of images (a “goose-lakes” dataset, if you will) and perform a shorter round of fine-tuning with a smaller learning rate.
This fine-tuning step personalizes your diffusion model without forcing you to redo the entire training from scratch. It’s a handy trick for branching out or zeroing in on a specific theme.
Troubleshooting Usual Pitfalls
- Overfitting: If every output starts to look suspiciously similar, your model might be memorizing details rather than generalizing. Try adding more variety in your dataset or incorporating mild data augmentation.
- Underfitting: The opposite problem—and equally frustrating. Images remain murky, never resolving into crisp details. You might try training longer, layering in more data, or adjusting your noise schedule.
- Resource Constraints: If you’re constantly running into out-of-memory errors, you can experiment with gradient checkpointing, smaller batch sizes, or using “half-precision” training. Every little trick helps you stretch those GPU resources a bit further.
Bringing It to Life
Once your model generates images you’re happy with, the final step is often packaging it into some form of deployment. As a software developer, you can embed your creation in:
- A small web service or REST API that serves up images on request,
- A local tool that saves images to a folder for offline use (like concept art generation or product prototypes),
- A fun interactive dashboard that co-workers or clients can use, perhaps with random prompts or parameter sliders.
Don’t be shy about showing off your model’s quirks. Sometimes the slight “imperfections” are what make people do a double-take and realize there’s real creative potential there.
Final Thoughts
Training a custom diffusion model from scratch is no walk in the park. It demands computational power, a well-prepared dataset, some knowledge of deep learning architectures, and plenty of patience. But the payoff can be tangible in all sorts of projects—be it generating unique visual assets for apps or rapidly prototyping design ideas to show your team or clients.
If you’re willing to devote the time and resources, you’ll come away not just with a fancy AI model development but also a deeper grasp of how these cutting-edge generative techniques work under the hood. And who knows? Maybe your next big idea involves pushing diffusion models in ways that haven’t even been explored yet. Here’s hoping the sparks of creativity—and your GPUs—keep on running strong.